Mountain Terrain

I'm building an animated composition entirely within Houdini in order to learn its key systems. The backdrop for this composition will be a Himalayan mountain-scape, giving me an opportunity to get to grips with Houdini's heightfield workflow.
False Start
The standard workflows you see in learning material make heavy use of Houdini's Heightfield Erode node, which I spent a lot of time working with. I had the notion that if I could get the parameters just right, the Himalayas would 'emerge' via simulation.
I found it was easy to get 70% of the way there by leaning on this node, but I found the remaining 30% a real struggle, not least because of it's heavy computational cost, limiting my ability to iterate quickly.
I also disliked how its freeze at frame feature would often get stuck, requiring a manual reset. In the end, I ejected this node from my workflow entirely, and spent some time understanding how its constituent parts work, in particular the following nodes:
With careful manual management of the various sediment/debris/bedrock layers, I was able to use these lower-level nodes in a much more controllable way, and avoided the need for costly multi-frame computations.
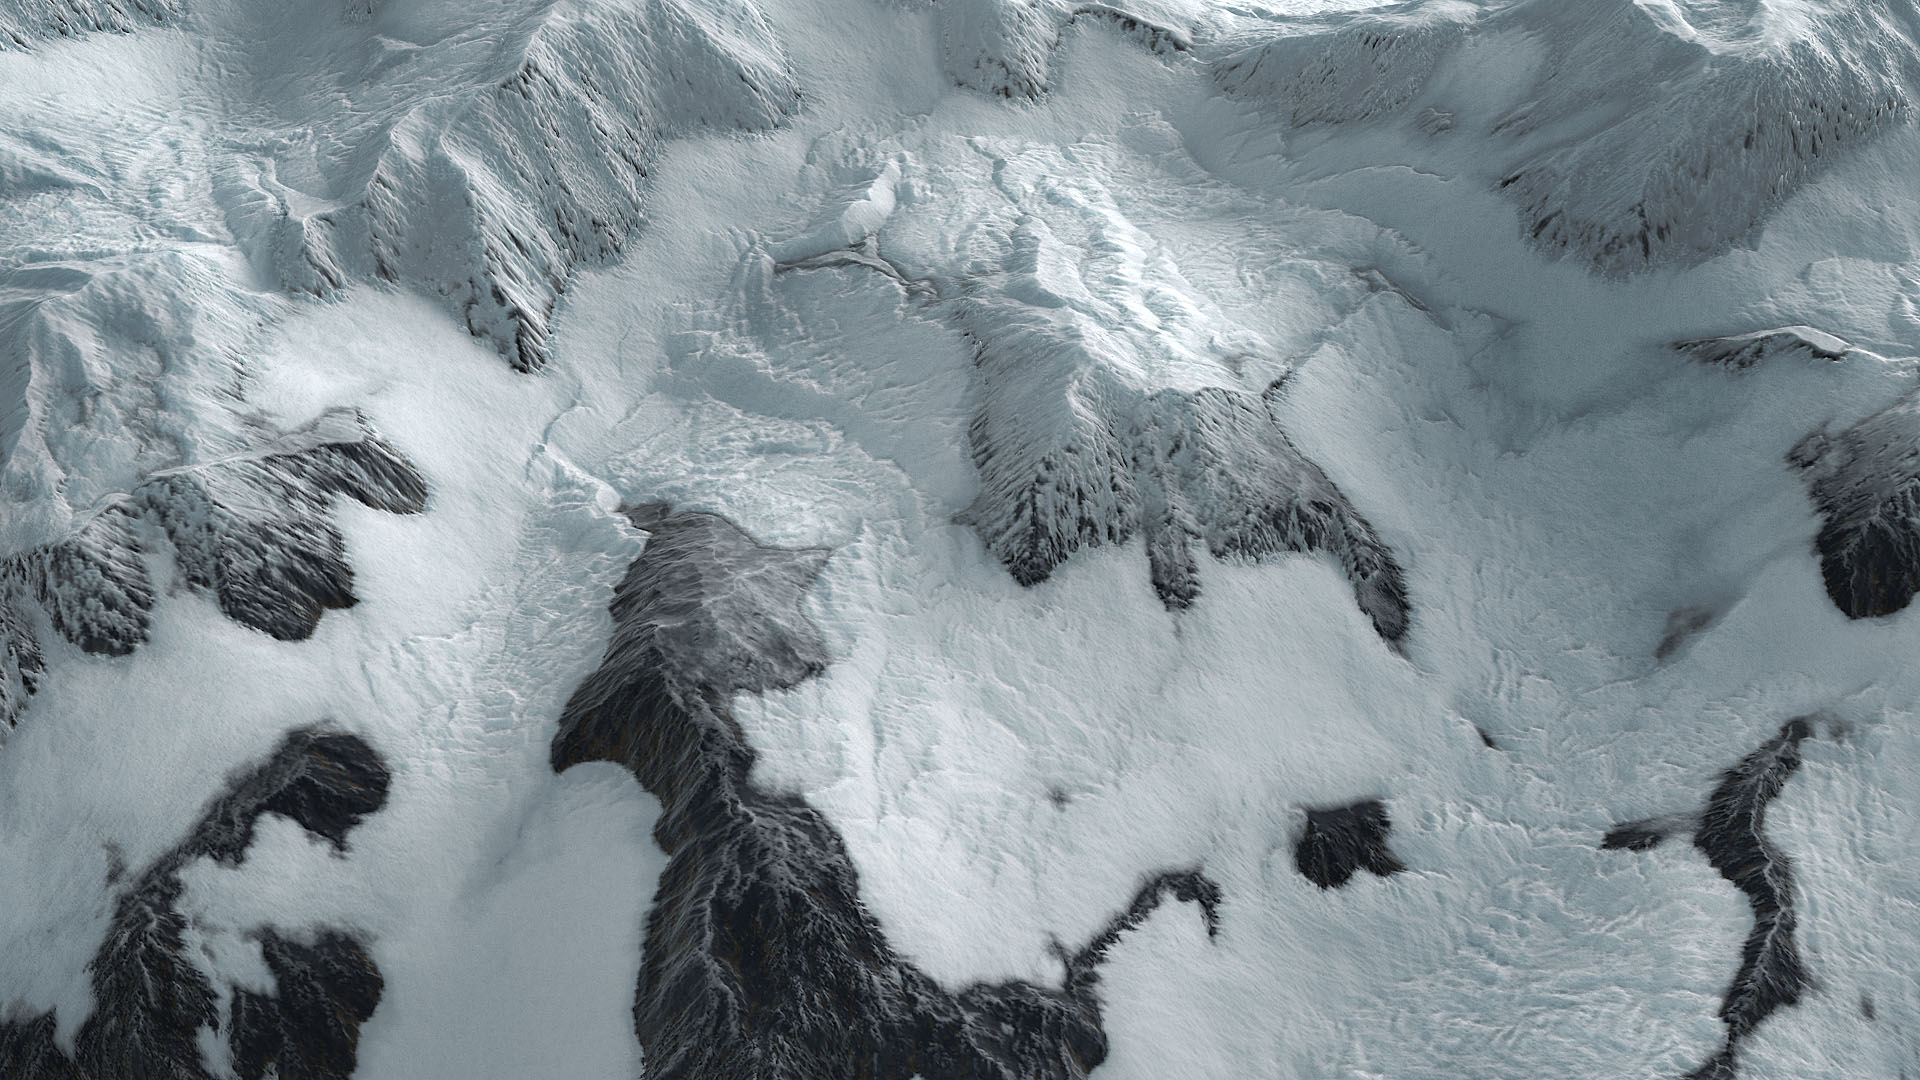
Reference
The first step was to gather as much reference as possible and attempt to break the desired look into its constituent parts.


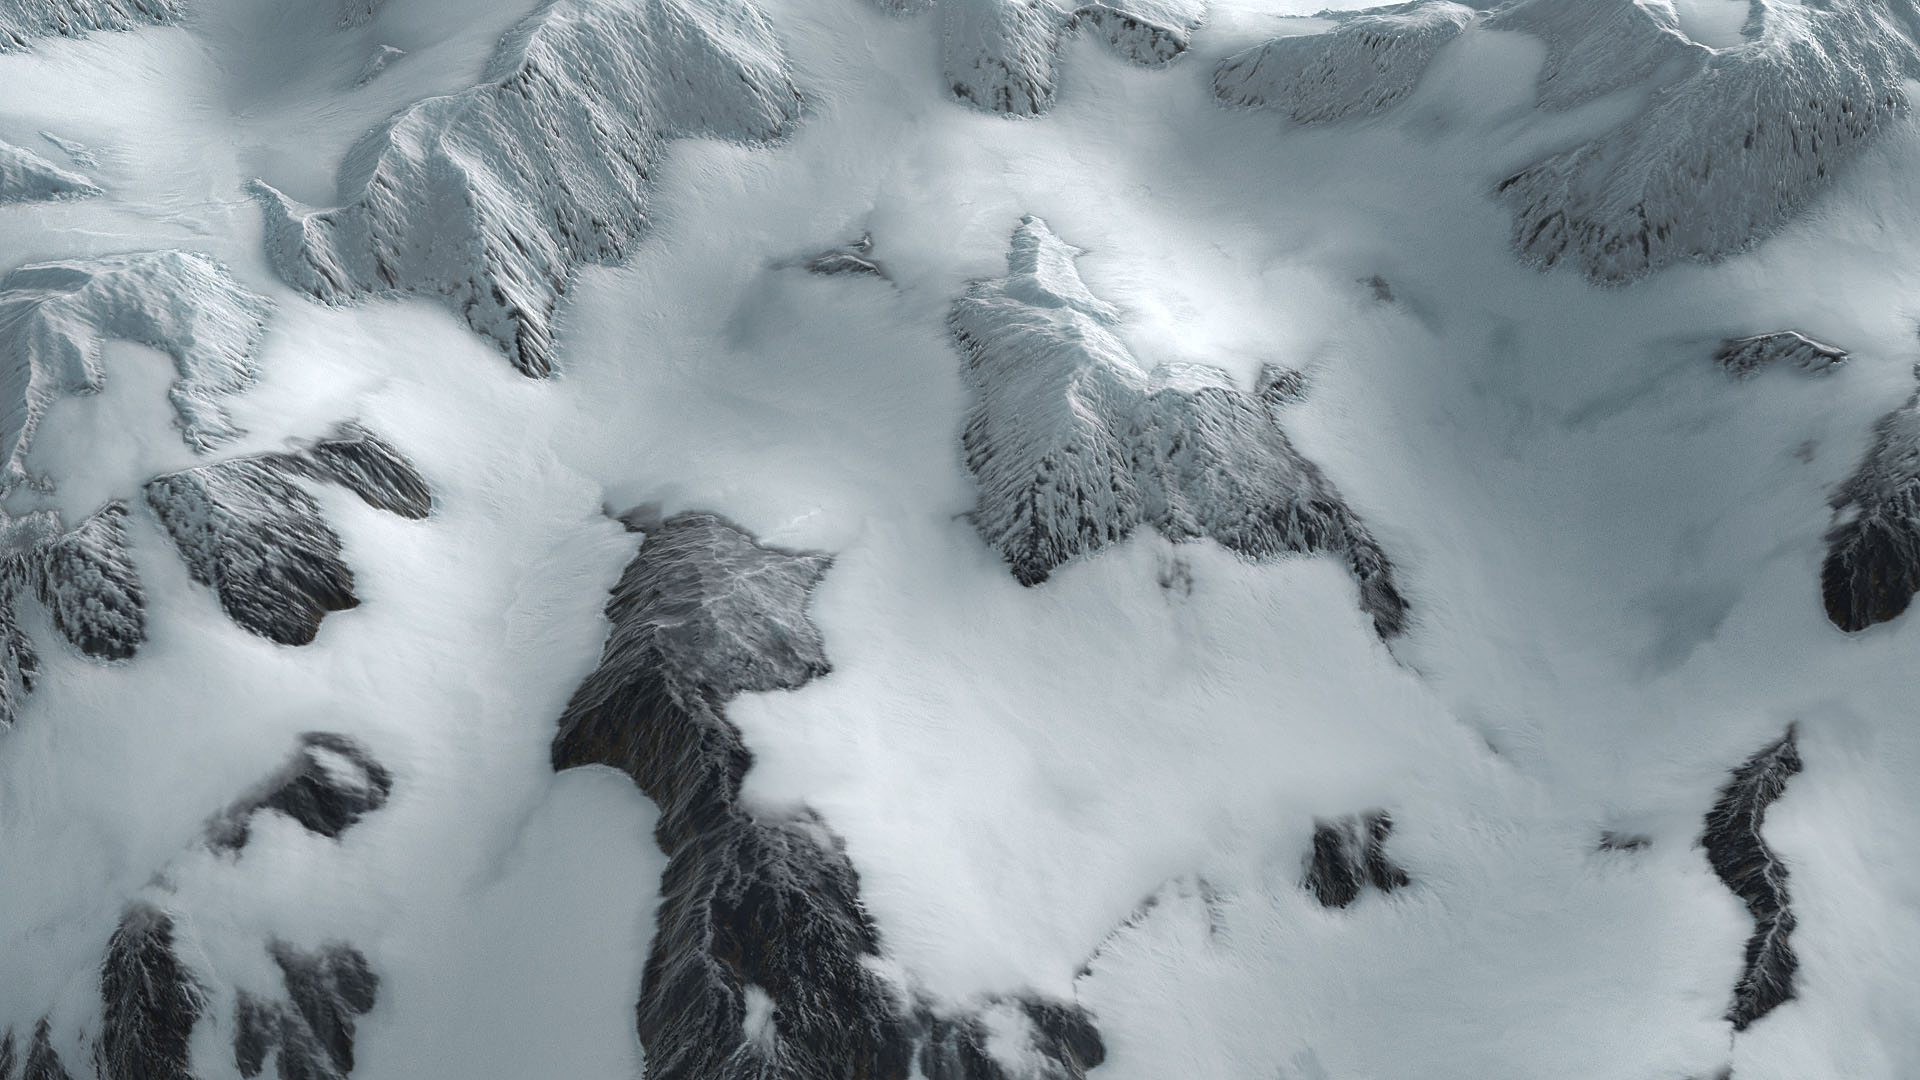
Here we can see some key features:
- Long ridges and valleys that are broadly parallel, forming triangular shapes.
- Lighter, sometimes 'dusty' looking snow at higher altitudes.
- Thick glacial snow in the valleys
- A clear line where the snow begins to melt
I approached each feature, starting with the largest, slowing adding detail at each stage. The video at the top of this page broadly shows each of these stages, and the rest of this page will attempt to provide more detail.
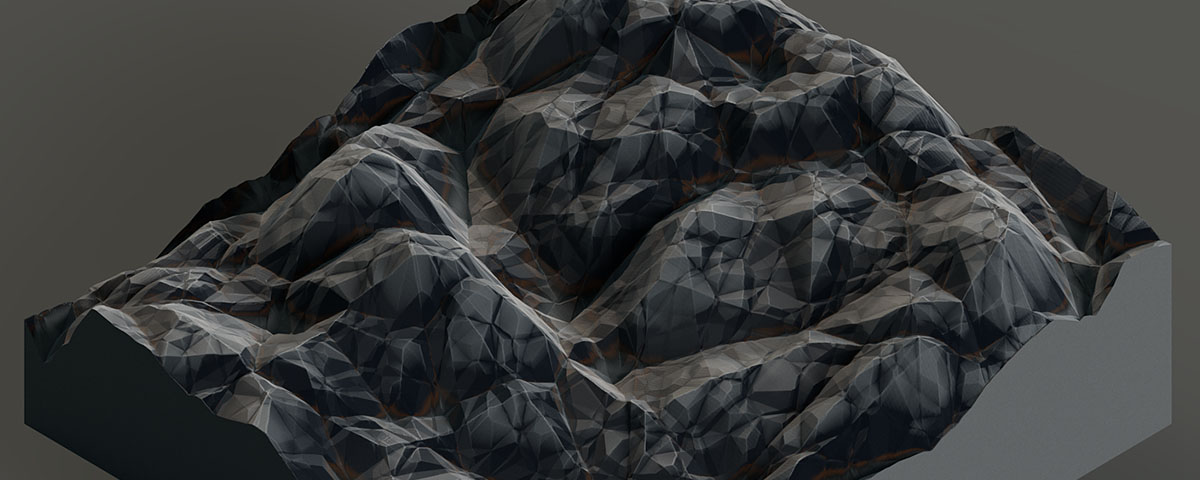
Large Features
Rather than relying on simulation to erode bedrock into mountain shapes, Houdini comes with a broad set of noise types that can get you 90% of the way there analytically. A big win for speed and controllability.
The Worley Cellular F2-F1 is a great noise to start with, as it already produces the triangular shapes we see in the reference.
For more controllability, you can use Houdini's Heightfield Project node to add arbitrary shapes. This can be used to add custom peaks, or dampen unnaturally regular shapes in the noise.
Distortion and Erosion
Now we need to break-up those large shapes and start introducing detail. Houdini's Distort by Noise node is great for this. The standard noise node shifts values up or down, whereas the distort node moves them laterally. This lets you introduce details without changing the overall volume of your shapes.
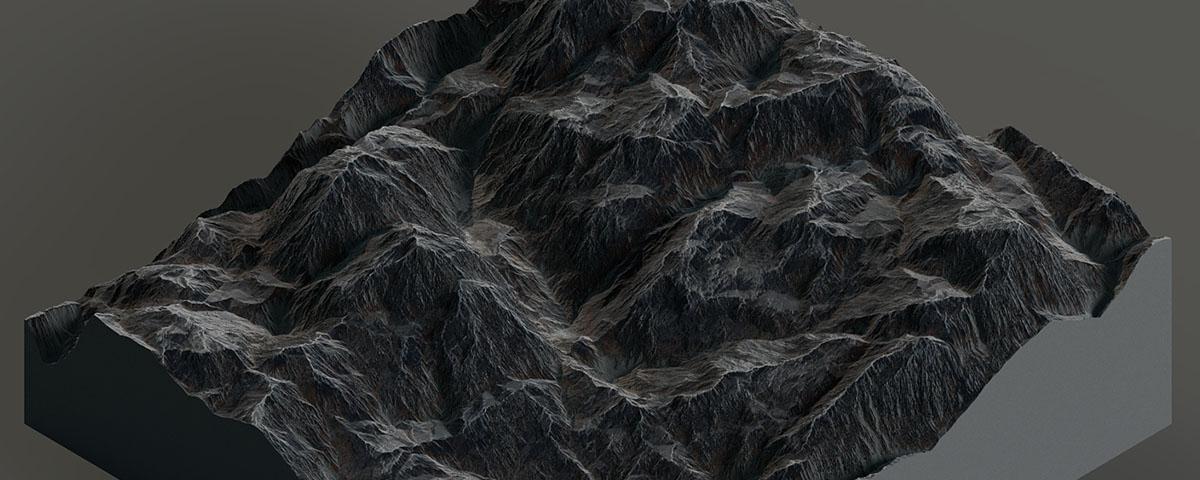
This distortion also plays an important role in giving the erosion nodes some roughness to get their teeth into.
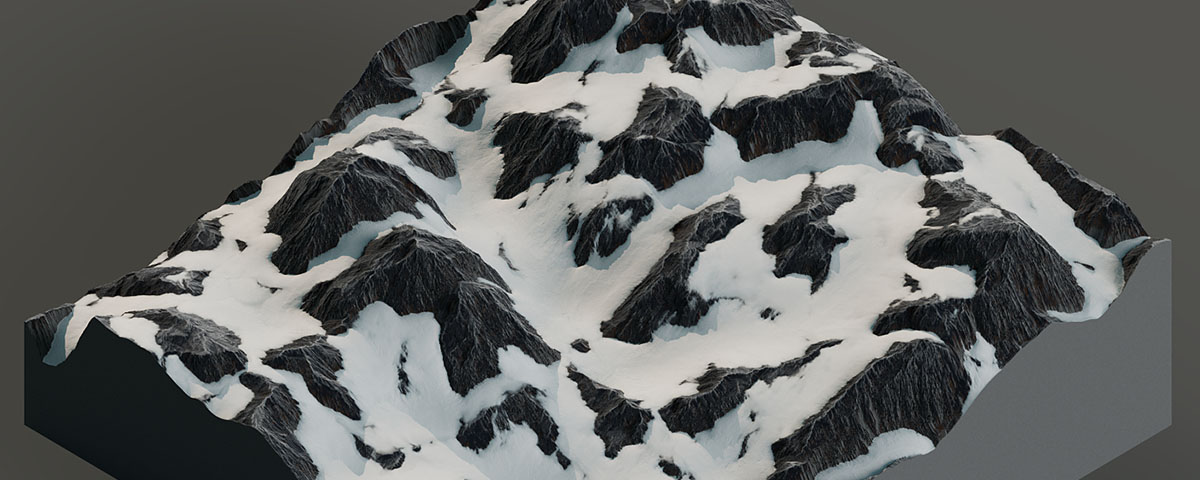
Glacial Snow
The reference doesn't show many small erosion lines typical of the erosion node's results - this is because the water is generally not in its liquid state. Instead, hydro erosion generally comes from glaciers carving huge valleys as they make their way down the slope.
We have already been given those large features from the worley noise, so I approached this backwards. I use the Heightfield Slump node to move a thick snow layer along the gradient of the terrain, causing this material the naturally flow and settle into those valleys.
In reality, snow never looks this smooth (unless it has just settled). Glaciers flow, albeit very slowly, and it's this motion combined with snow's ability to become packed that leads to lots of interesting surface details. I thought of this motion as a sort of churning, where snow is pushed up to the surface during its motion down a slope.
Glacial Churn
I tried many different types of noise, but it always looked a bit too procedural, and didn't seem to reflect the history of how the snow had flowed. Then I discovered that the Slump node can generate a layer describing the direction and magnitude of the motion it calculates while moving the material around.
I used this layer as an input to the Distort by Layer node. Like the Distort by Noise node we used earlier, this node lets you provide your own data to move values around.
The above is the result of me heavily distorting the snow layer by the flow field (itself distorted). This leads to a rather noisy looking result, where large spikes of snow appear where the flow field converges. Slumping this result with careful tuning of the angle of repose parameter leads to natural looking chunks of snow, complete with ridges and cracks that are orientated to the flow of the glacier.
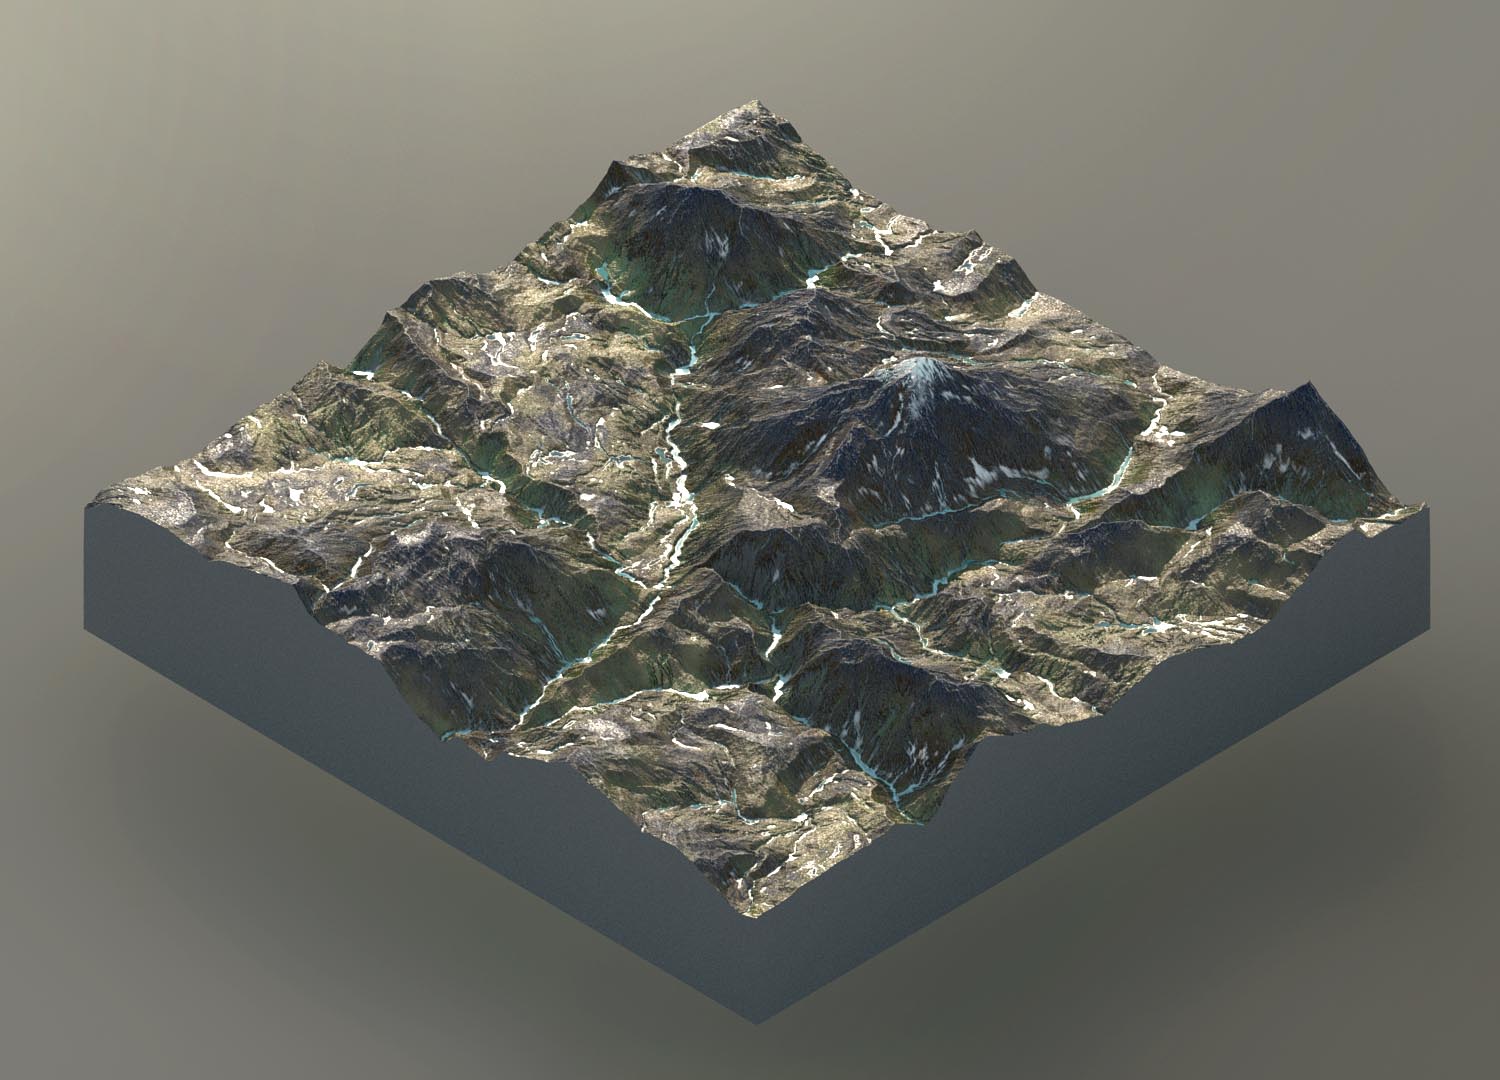
Meltwater
At lower altitudes we begin to see some greenery and waterways as the temperature rises and snow becomes meltwater. This was relatively straightforward to achieve. First I generated a heat mask, using altitude as the primary driver, but also mixing some occlusion in there to simulate how areas with a large amount of shadow would be less likely to heat up form direct sunlight.
Using a volume wrangle, I simply converted the snow material into water based on this heat mask. The rate is less than 100% to simulate water draining away. I then slumped the water by 4000(!) iterations so it reaches its natural basin.
Greenery is also added within the heat mask to produce the sorts of colours found at lower altitudes.
Gallery
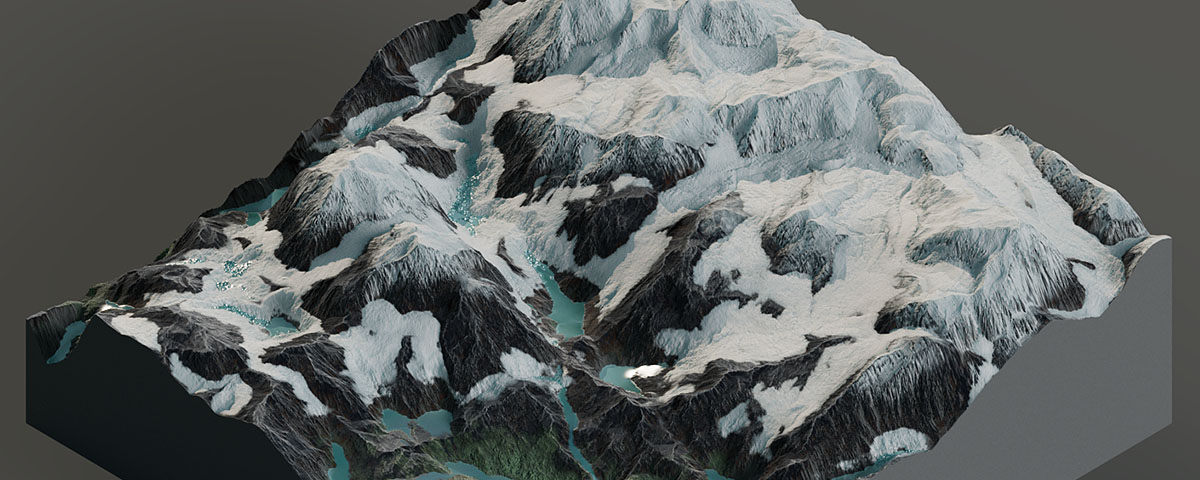
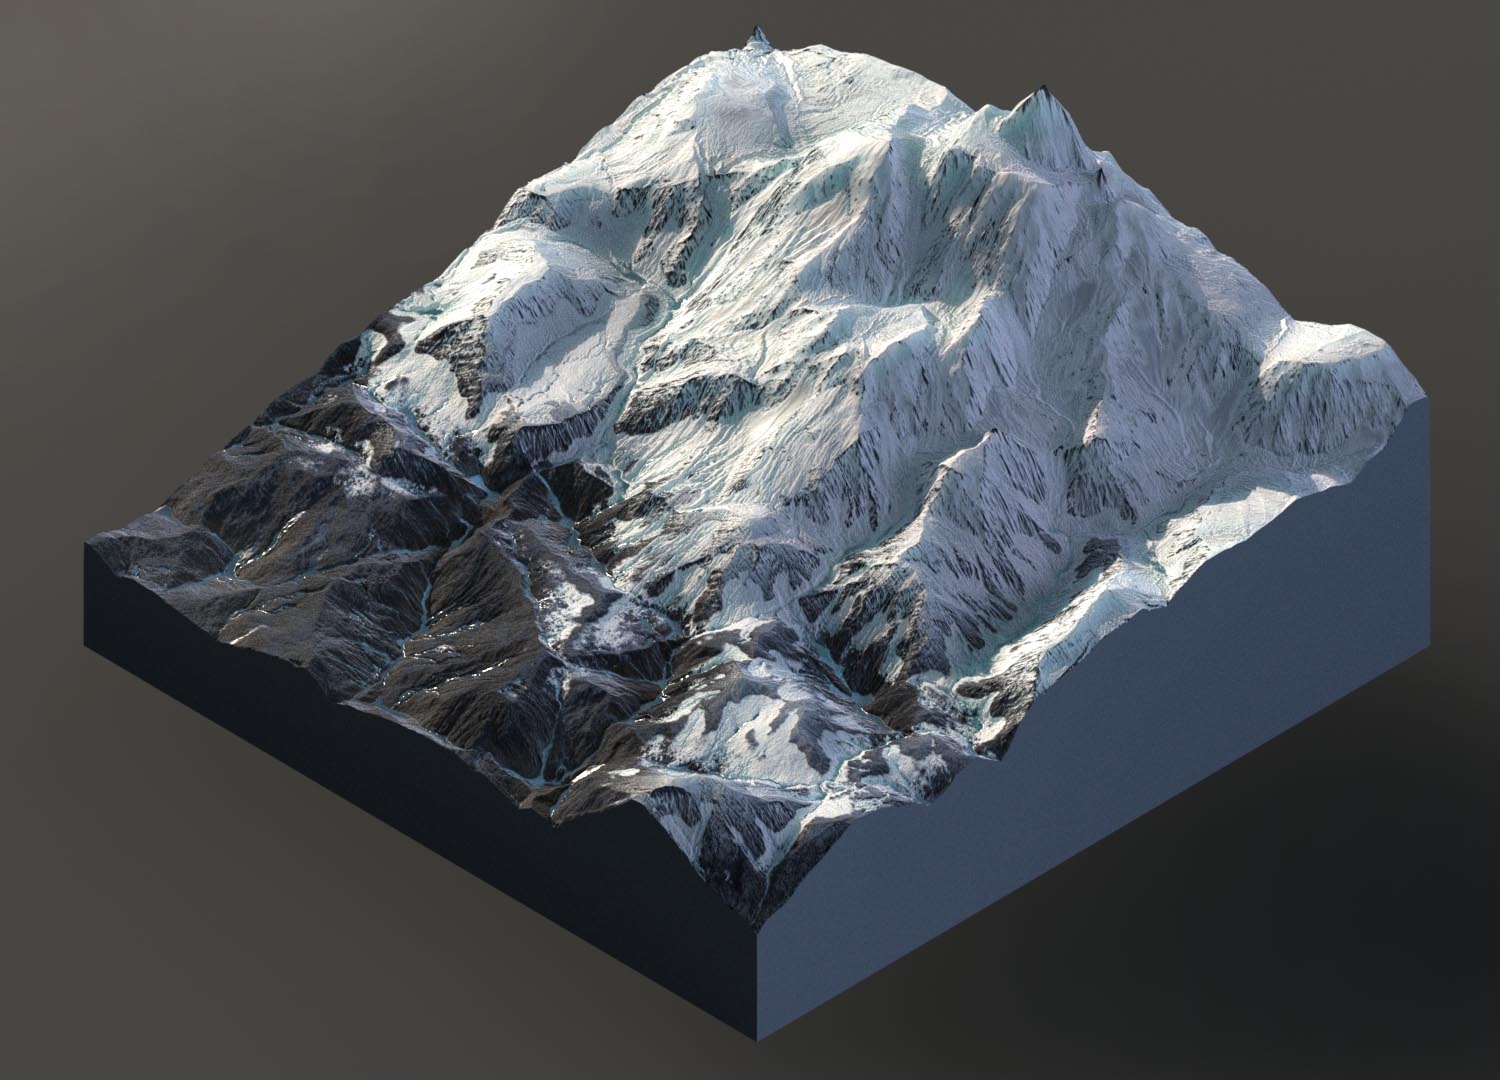
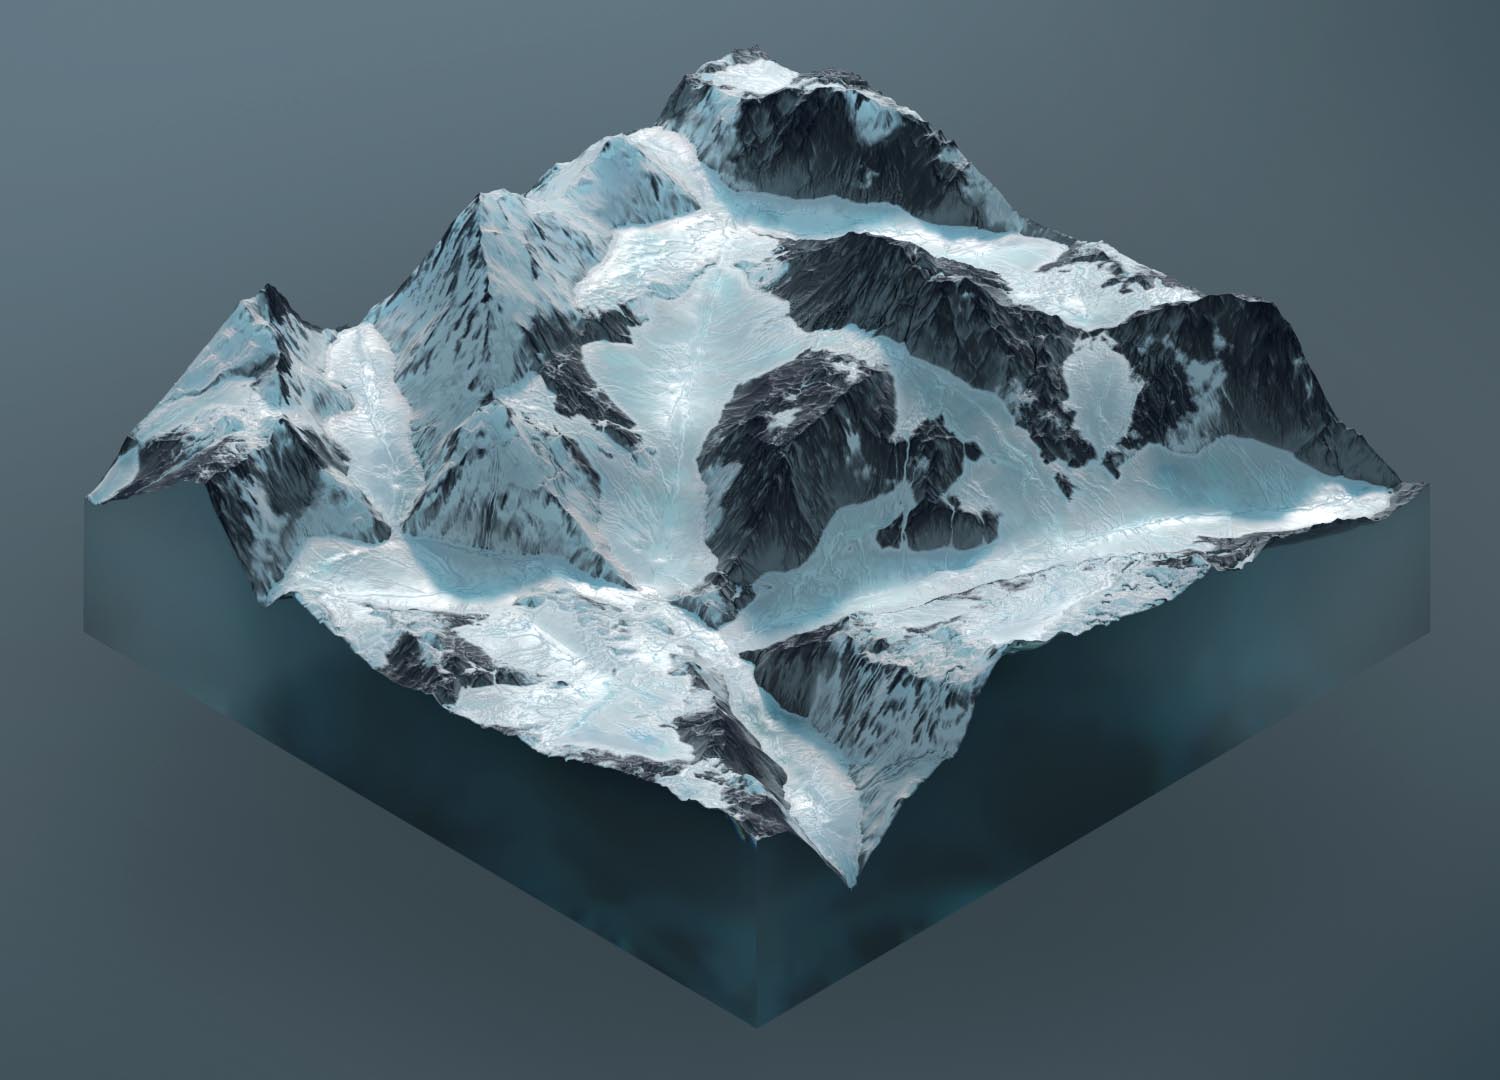
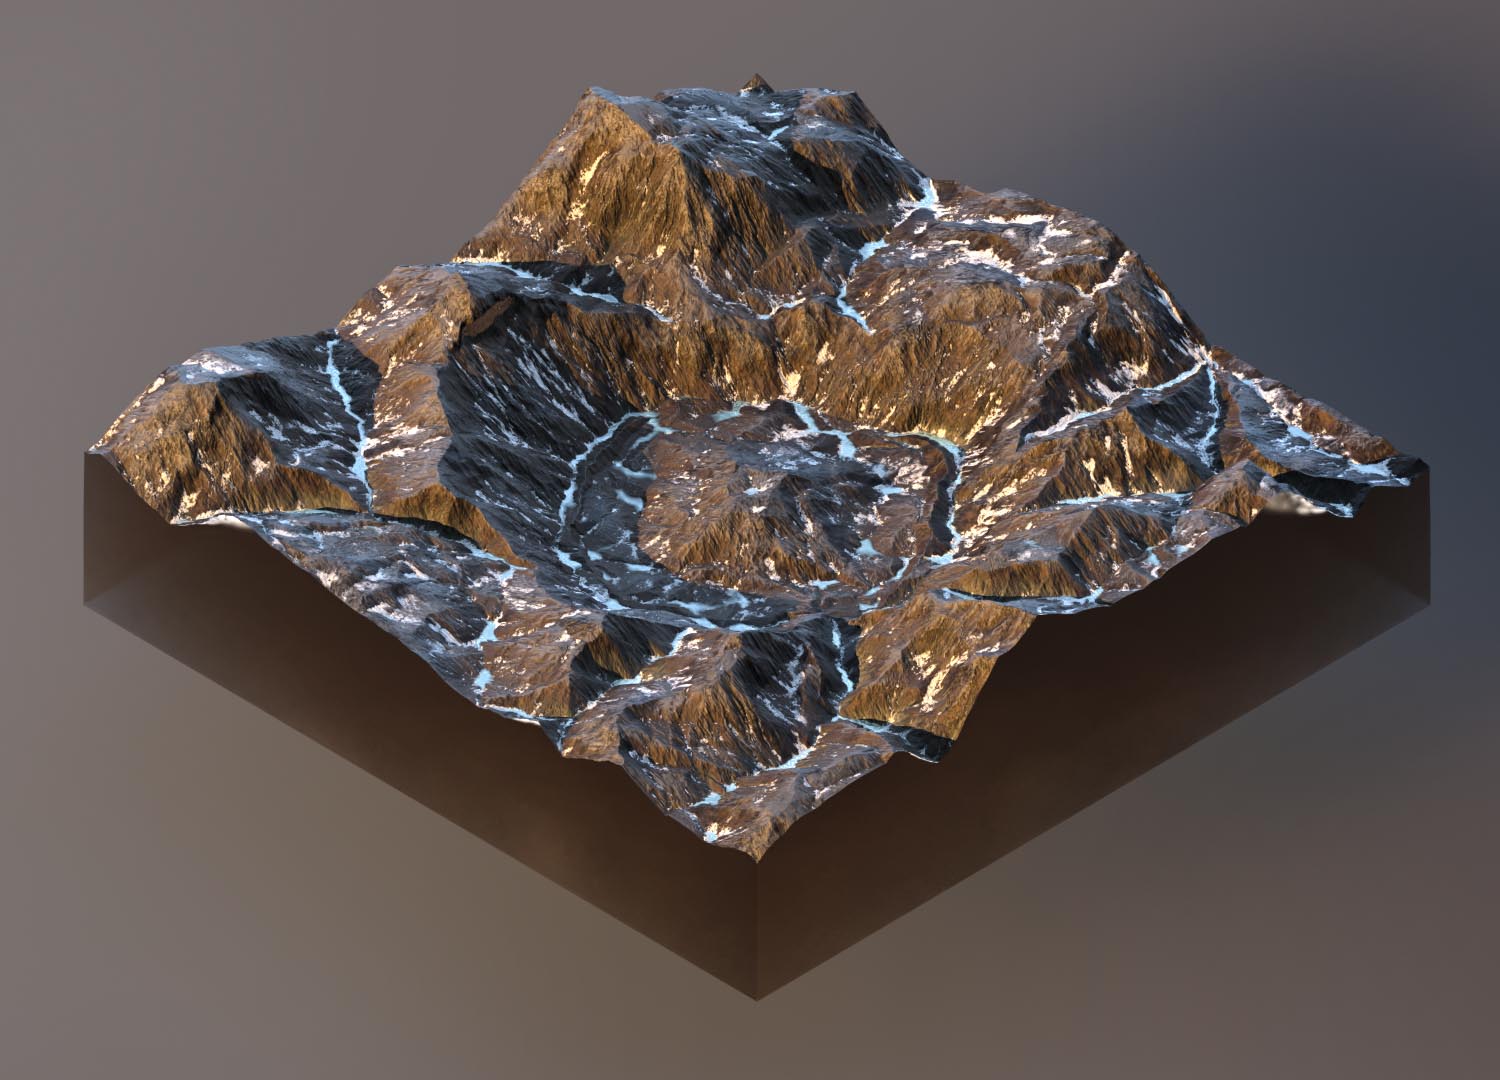
I learnt a lot more about how Houdini's parameter system works while building this workflow. The result is a node graph that has only a handful of nodes at the top-level, with a few parameters each to tweak each stage. (Heat range, fresh snow altitude, glacial snow amount, etc). By tweaking a few of these parameters, it's easy to generate a large amount of variations, while still retaining the overall look.
For example, each of these took around 20mins to set up: (click for higher res)
I had great fun working on this. Don't forget to check out the source file if you're interested (download at top of page), and thanks for reading!